Its not mandatory to use the R Studio for R programming language but it definitely provides some advantages and ease of development. There are multiple variants available such as R-Studio Desktop, R-Studio Desktop Pro, R-Studio Server, R-Studio Server Pro, but for most needs the R-Studio Desktop free version will suffice. These variants are available for Windows, MAC OS and Linux OS. The installation of the R-Studio Desktop free version in Windows 10 is described in this post.
The R Studio can be downloaded from this location : Download R Studio
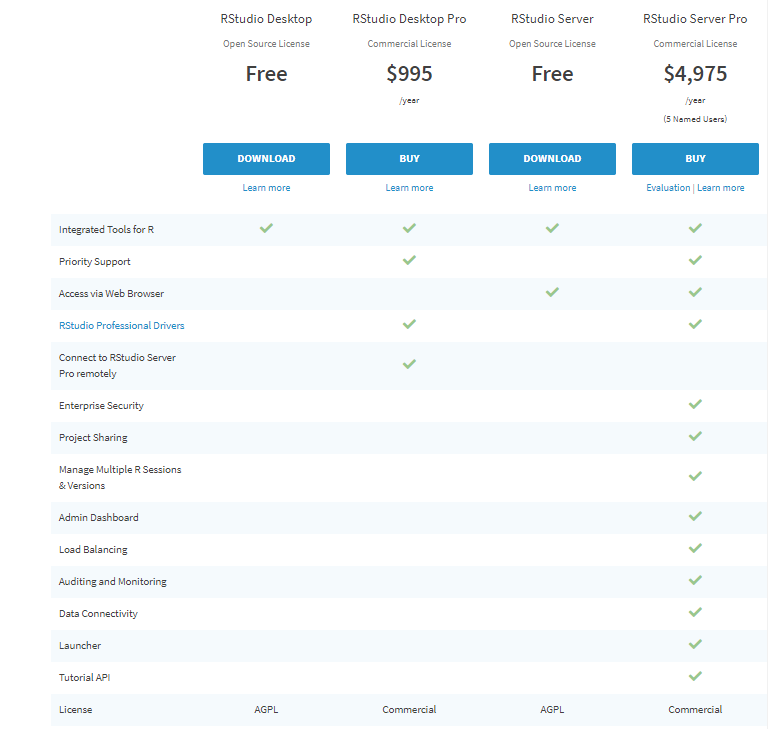
Select the Open source R-Studio Desktop (Option1) and Click on Download. The user is navigated to the Installers.
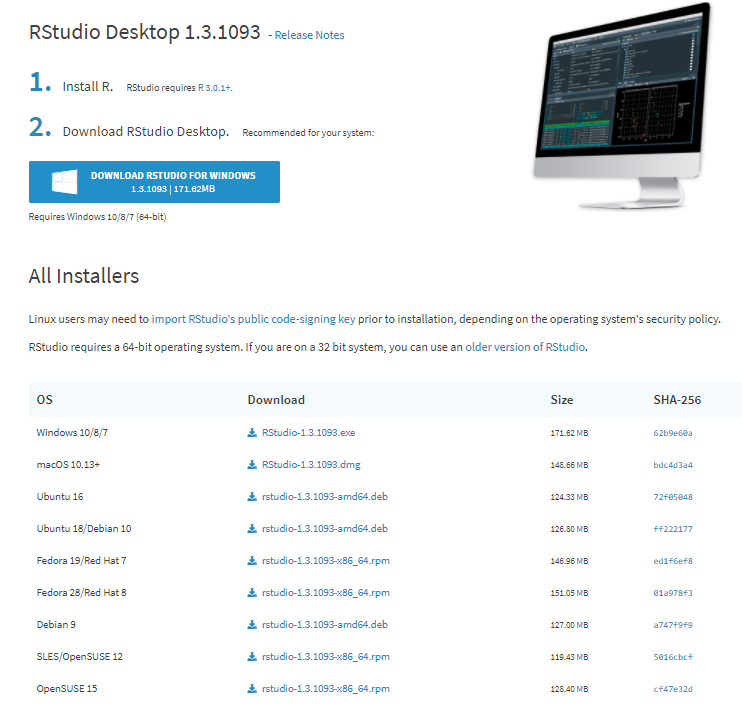
Select The R-Studio for Windows 10/8/7. After the executable is downloaded, double click the executable file to start the installation. The Default setup is good enough for most requirements.
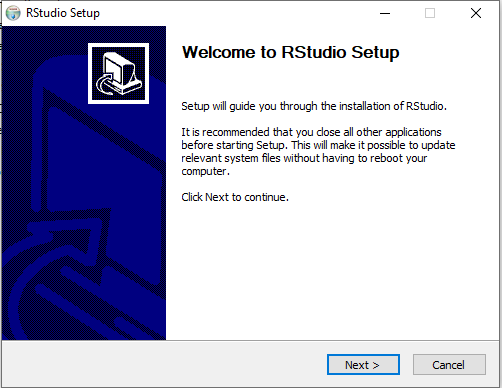
- Double click the installer / executable and the below screen pops up.
2. Click Next to get the screen where the installation location can be provided. The Default location will do fine, but we can chose a custom location if required.

3. Click Next
4. Click Install to start the installation of R-Studio
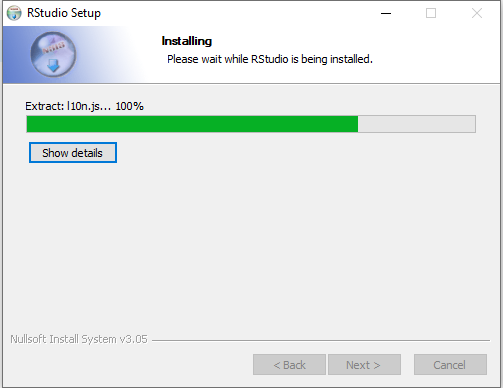
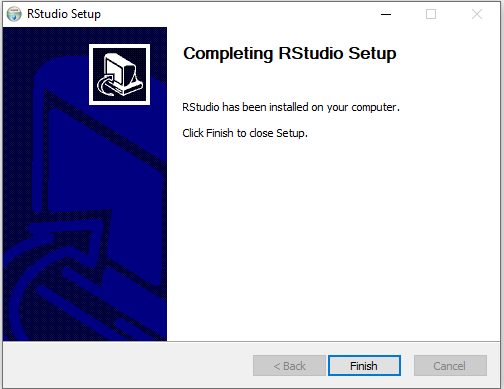
5. The Installation is completed and click the Finish button to close the Setup window.
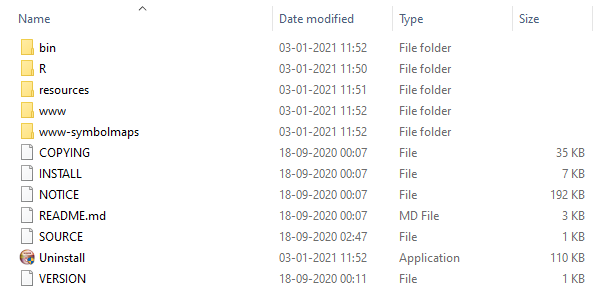
6. The name chosen in the Start Menu Folder should be visible in the Start Menu. The folders / files for the R-Studio can also be accessed at the chosen installed location. The top level directory structure of the R-Studio is shown below.
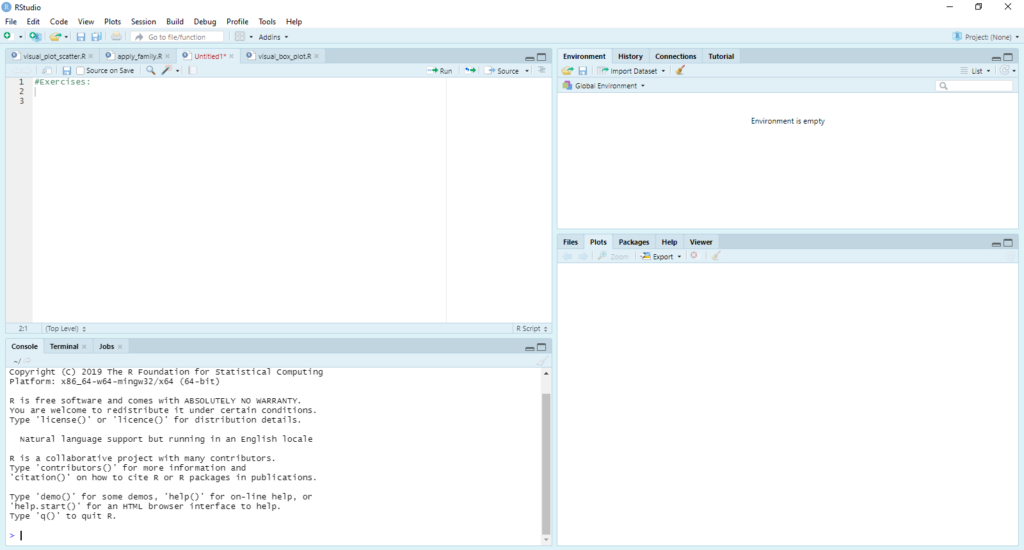
7. The R-Studio can also be started by Double clicking the RStudio.exe file in the bin directory shown above. Once the R-Studio starts, the initial screen is as shown below:
Explore basic usage of RStudio in the post – Using R Studio